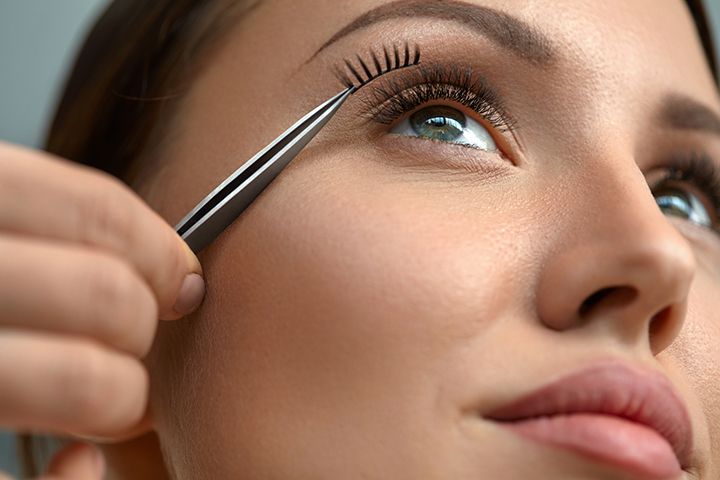
False eyelashes can be very intimidating to a makeup newbie but can be super addicting once you get the hang of them. For years even as a makeup junkie, I’ve avoided false lashes. Although, ever since we all got confined to our homes during the lockdown, it gave me the opportunity to experiment and practice. Ever since then I’ve fallen in love with falsies. They are an amazing way to change up your entire look in an instant. Plus with so many styles and options available you can pick options that work for your eye shape and enhance the makeup look you’re going for. The best part is that they’re low commitment and allow you to experiment with ease compared to pricey growth serums and high-maintenance lash extensions.
However, false eyelashes do require some effort on your part. I know its tempting to peel of the lashes and toss them around, trust me I’m guilty of that too; but don’t make that mistake. Good quality lashes like mink, faux mink and other styles can be used multiple times if well cared for. Even cheap strip lashes have about 2-3 uses in them! Reusing lashes is a more efficient and useful way to save money when doing your own makeup. BTW it goes without saying but never shares your lashes with anyone else. Always use a fresh lash on your friends or client to avoid causing an eye infection. There’s plenty of life left in your personal lashes, treat them well by cleaning them with care will really extend their life. Plus the cleaning process is super simple and we’ve laid out some easy steps to follow.
Follow these easy steps to clean your false lashes and prolong their life:
Step 1: Know the kind of lashes you have
The first thing is to determine what kind of lashes you’ve been using. Synthetic and natural lashes need to be cleaned and sanitized differently. However, most of the false eyelashes we see on the market nowadays are synthetic and vegan with most companies branching away from natural hair.
Step 2: Remove the glue
After you gently remove the lashes there’s always gooey clumps of glue leftover that needs to be removed. For a more gentle removal first, soak a cotton bud with eye makeup remover and wipe away the excess glue on the strip. If there are still stubborn bits grab a tweezer and gently pick them off. TBH this is a super satisfying step.
Remember to use oil-free makeup or water-based remover for synthetic lashes. An oil-based remover can leave residue on the lash, ruin it and interfere with your makeup when reapplied on your eyes.

Step 3: Clean the lashes
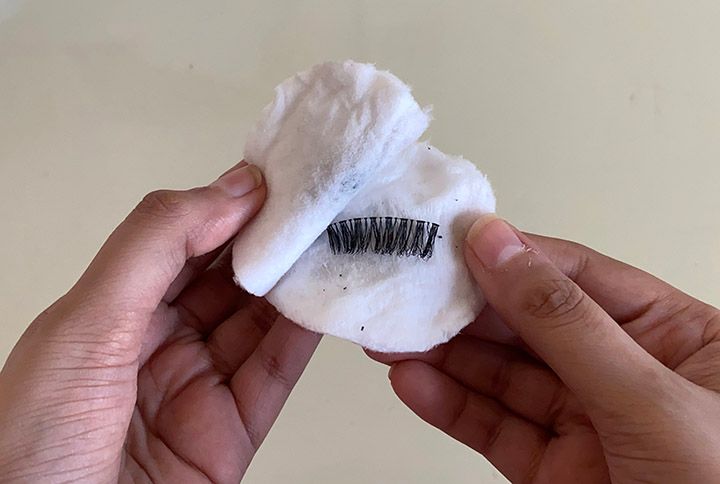
This a crucial step especially if you’ve applied a little mascara on top of your lashes when they were on. Skip this step if your lashes are made from natural fibers like mink. You shouldn’t be applying mascara on mink lashes anyways. Take to cotton pads-tightly wound, not cotton buds mind you, and soak them in micellar water, Sandwich the lashes in-between the pads and very gently comb or massage them. Alternatively, you can also use a clean spoolie or Q-tip dipped in makeup remover to comb the lashes to break down the mascara.
Makeup Tip: If you want to reuse your fake lashes in the future, always apply mascara to your eyelashes first then place the falsies on top. Avoid applying mascara on top of the fake lashes as it can damage or ruin the appearance of them.

Step 4: Final wash
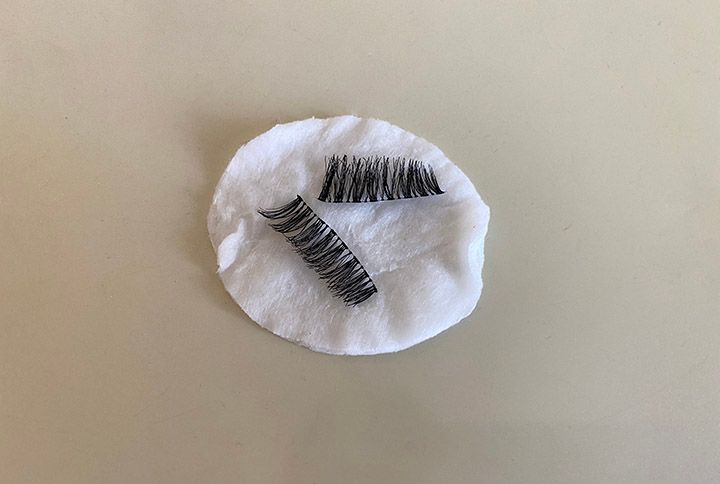
Next, take a cotton pad to soak it in warm water and wipe the lashes to get rid of any makeup remover product remnants. If you’re using mink lashes use a very small amount as not to damage them. Pay close attention to the strip of the lashes as its very important to ensure they’re super clean to avoid any bacteria build up as these strips make direct contact with your eye. You can even take an extra step to sanitize them by spraying them with at least 70% grade rubbing alcohol.

Step 5: Air-dry it
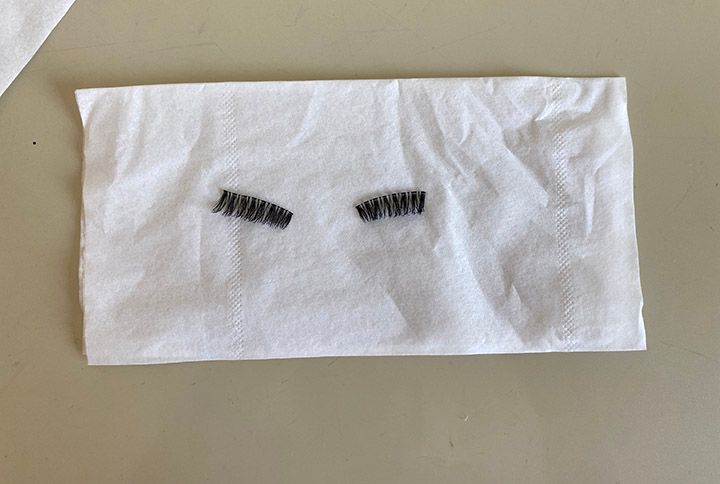
Gently stroke your lashes one last time and lay them down on a lintless towel. Give them enough time to air dry. Once they are completely dry store them in the box that they originally came in. Place them in the original semi-circle position if possible, this will help maintain their shape and keep them clean. Just like that, your falsies are ready to wear the next time you step out.

Check out the video tutorial here:
Did you find this process useful? Let us know in the comments below.
Follow @missmalinibeauty on Instagram for more updates.

