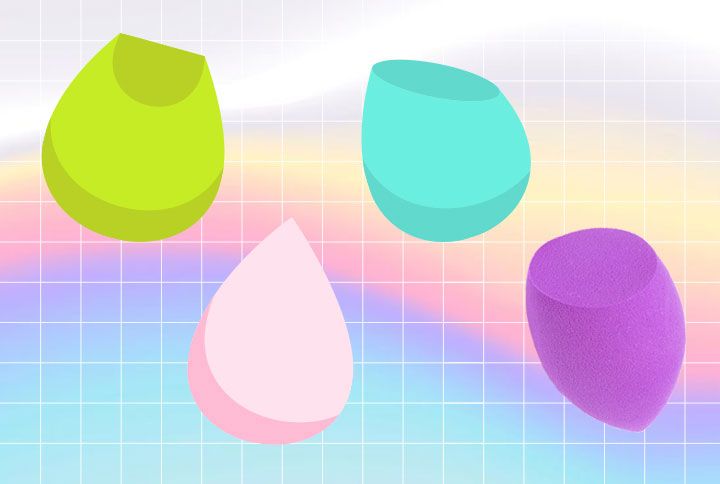
If you take a peek into most girls’ makeup drawer, you’d see that 9 out of 10 of them have a beauty blender amongst the other products and brushes. Firstly, when I say beauty blender, I don’t necessarily mean the BeautyBlender—but moreso, makeup sponges in general.
The OG blender came into the beauty space in 2007, making it easier to blend one’s foundation so seamlessly, giving it an airbrushed-like finish… Therefore, leaving quite an impact on beauty consumers everywhere. Since the BeautyBlender can be a bit pricey to purchase (I mean, for the shape and size of the sponge, $20), other brands have started manufacturing more affordable versions of this beauty blender. Since the term ‘beauty blender’ is so commonly used, everyone calls their basic makeup sponge a beauty blender now. While there’s no major difference in the workings of this beauty tool, here are a couple of tips you can try to maximise the use of your blender/makeup sponge—other than blending out your foundation, of course!
1. Using it when its damp can give you an airbrushed base
To avoid rips and tears, first, place the blender (let’s just call it that for the sake of this blog) under the tap for a couple of seconds to absorb some of the water. Post that, squeeze to remove the excess water and now you can put it to work!
*Tip: The more saturated the blender, the less it will suck up all the product.
2. Press the sponge into the skin rather than sweeping it across
One of the most common blending mistakes is when people use the blender in a swiping or sliding motion while applying the product. When, in fact, the blender’s real power lies in having you dab and press the product into the skin to give it an airbrushed look.
3. You can apply your skincare products with it too
Use your blender to apply any of your liquid skincare products! From moisturisers to serums and essences, to any kind of product that can be tricky to apply. All you have to do is wet the blender, apply your product to it and then apply to your face.
4. It doesn’t just work for liquid but you can apply powders with it too
Most people are under the impression that only liquids (foundation and concealers) can be blended by a sponge/blender. But a shockingly, your blender can even be used to press in your compact or loose powder! One would assume that you’d need a brush to buff the product in but dabbing your powder with a blender can usurp any oils and give you the same finish.
*Tip: Use the narrow tip of the blender to apply powder under the eyes to set your concealer.
5. It can also be used for cream contour, blush, and highlight
The pointed end of the tool can help you have more precise cheekbones than a regular brush. Using the same bouncing technique as you would while applying your liquid, your blender can be used for creamy textures and products as well.
So… Did you learn something new? Are you a fan of the beauty blender/makeup sponge? Let me know in the comments below if you use one in your makeup routine.
Follow @missmalinibeauty on Instagram for more updates.

