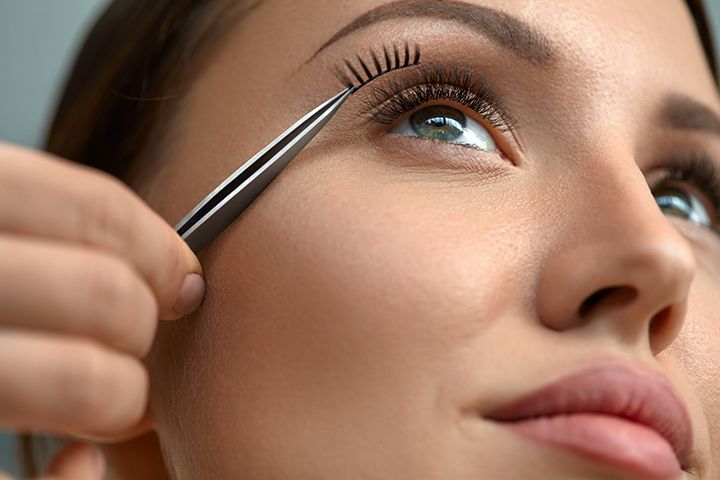
False lashes are probably one of the most intimidating things in the beauty world. However, they are also geniuses at adding a layer of subtle glamour to your eyes. Whilst it certainly isn’t easy to apply falsies, there are a few mistakes you can avoid to make the process easier.
Mistake #1: Not Perusing Options
Contrary to popular belief, you have so many options when it comes to falsies! In the broadest sense, you can pick between lash strips and individual lashes. Whilst the former are easier to work with, the latter provide a more natural look. Once you’ve chosen the type you want, you have further options with regards to the length, finish and colour. Some brands even offer different lashes depending on the shape of your eyes.
MAC 1 Lash | Source: MAC Cosmetics
Ardell Duralash Naturals In ‘Long Black’ | Source: Ardell
Huda Beauty Classic Lash – Claudia #6 | Source: Huda Beauty
NYX Wicked Lashes Singles | Source: NYX Cosmetics
Mistake #2: Doing Your Eye Makeup After
False lashes are a commitment. If you are planning on flaunting them, then you need some eye makeup to go along with it. Before you start the application, finish using your eye liner and shadow. We recommend going a little thick with the liner if you are using a lash strip, as it will be easier to mask the band with the liner. Whilst some makeup artists use mascara after applying falsies, we find that the lashes adhere better to mascara – especially when you use individual lashes.
Mistake #3: Skipping The Customisation
Even if you’ve picked the perfect lash for your eye shape and colour, chances are that you will still need to customise them. To ensure that your falsies aren’t too obvious, you need to snip them to the correct size. Place them along your upper lid to see how much you need to take off. Then, cut the excess from the inner corner. Most falsies have a little flare towards the outer edge, so you shouldn’t snip that off.
When it comes to individual lashes, we recommend choosing a variety of lengths so that you get the most natural look. The medium and long ones can be used on the outer corners, whilst the shorter lashes should be placed in the centre and inner edges.
Mistake #4: Using Too Much Glue
Less is more when it comes to lash glue. If you use too much, you will be left with a thick, visible mess that will be hard to hide. For best results, use a brush to stroke the glue on the band. If you have opted for individual lashes, dip each one into the tiniest amount of glue before putting it on. Ideally, you should wait a few seconds till the glue gets tacky so that it sticks on easily.
Mistake #5: Sticking All At Once
Here comes the hard part i.e. the actual application! In the case of lash strips, do not set out to stick the entire band at once. First, tilt your head back so that you can see your upper lash line. Then, press the band along the centre part of your lid first. Once it’s in position, you can adjust the rest of the strip into place. Remember to not go too close into the inner corners or else the lashes will bug you every time you blink. If your lashes look a little lopsided, you can straighten them out at this point. Be gentle so that you don’t pull the strip off entirely. Then, hands off until the glue dries completely!
Individual lashes require a bit more precision. To place them, you can either use your fingers or a tweezer. Stabilise your arm on a desk and then add each lash to the gaps between your natural lashes. Start from the outer edge and continue adding lashes along your lash line till you get the look you want. Hold each one into position for a few seconds before moving on. Be sure to straighten them into place before the glue sets.
Finally, gently brush your falsies so that they blend in with your natural lashes. Finish off with a coat of mascara to get a seamless look.
We’d love to see your rocking false lashes! Don’t forget to tag us if you do end up trying them out.
P.S: Follow @missmalinifashion and @missmalinibeauty on Instagram for more updates.

