When it comes to makeup staples, concealer is definitely one of them! This handy little product can erase signs of tiredness, hide zits and brighten up your look in just a few swipes. However, there are a few things to take note of so that your concealer doesn’t work against you. Here are the most common mistakes people make when using this product – and how to avoid them.
Mistake #1: Not Prepping The Area
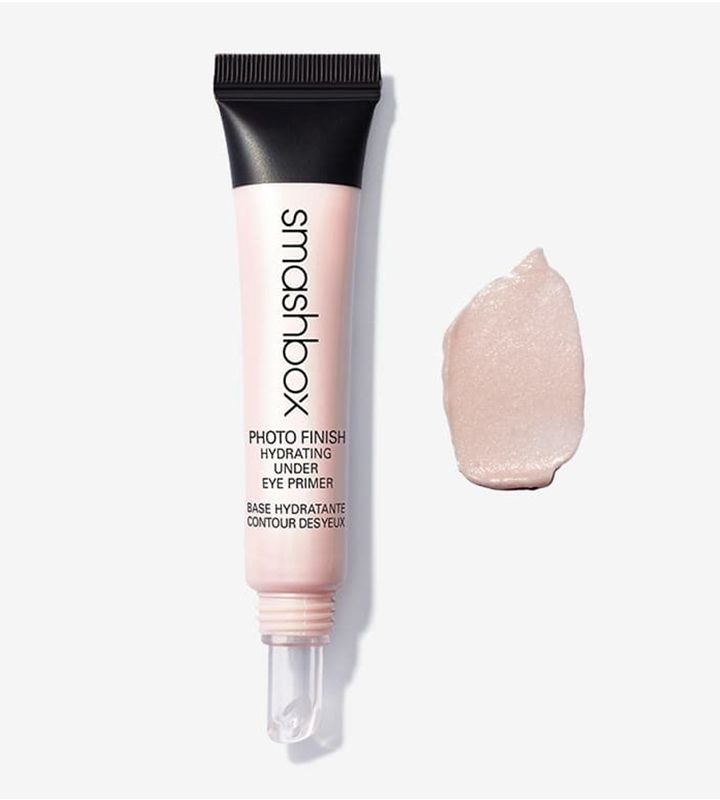
As with most type of makeup products, prep is a necessary step. If you are using a concealer on the under-eye area, remember to first pat on an eye cream. Not only will this moisturise the delicate skin beneath your peepers, but will also create a smooth base for the concealer to go on. Follow this up with a primer so that you get a long lasting, crease-free look.

Concealing a pimple is a whole other ball game. For an active zit, blot the area to soak up any oil. Dot on a mattifying primer so that your concealer can adhere to the skin properly. If the blemish has dried out, use a washcloth to gently buff off any flaky patches. Add a tiny bit of oil-free moisturiser (preferably one with salicylic acid) to keep the spot hydrated.
Mistake #2: Using The Wrong Shade
Picking a shade that doesn’t suit you will only highlight the problem areas that you want to blur! For your under-eye circles, it’s important to select a colour that’s within one shade range of your skin. Going too light will only make your complexion look grey and ashy. If you’ve got severe dark circles, use a peach or orange colour corrector before concealing to neutralise the purple tones.
For spot concealing, use a shade that’s an exact match to your skin. This will prevent your zit from being too obvious. If the redness is too much, layer a green colour corrector beneath to counteract it.
Mistake #3: Picking The Wrong Formula
Texture is just as important as colour. Use a cream or liquid concealer on your dark circles. These blend beautifully and provide the most natural-looking finish. If you’ve got dry or mature skin, look for a hydrating formula to even out the area. Those with oily complexions should skip emollient and heavy concealers.
Use a concealer with a tackier consistency to cover up a zit. Stick products are usually the best bet as they tend to be drier, which allows the concealer to stay put for longer. Remember to avoid illuminating formulas here as they will only bring the spotlight on your blemishes.
Mistake #4: Being Heavy-Handed
Here’s the truth – we all require lesser concealer than we think we need! Piling on too much product will leave you with a caked up, unnatural look. Start with a tiny bit on the affected area and blend it in. Thereafter, layer on small amounts to build up the coverage to what you want it to be. If you accidentally go overboard, use a damp sponge to sheer it out.
Mistake #5: The Application
When it comes to under-eye circles, you can either use your fingers or a blending brush. However, be careful with your method of application. Do not rub or stroke the colour in as this will cause the product to break down and migrate. Instead, tap the colour on.
For zits, it’s best (and more hygienic) to use a concealer brush. Dot your shade on to the area and then blend it in by using soft, patting motions. If the colour isn’t going on seamlessly, use a small buffing brush to work it in.
Mistake #6: Not Setting It
To ensure that all your hard works stay on, you need to use a setting powder as the final step. Not only will this prevent your concealer from sliding off midday, but will also decrease the appearance of fine lines. For best results, use a light dusting of translucent powder over the concerned areas. Use the powder sparingly to stop your makeup from clumping and caking.
Are you guilty of any of these mistakes? Let us know in the comments below.
P.S: Follow @missmalinifashion and @missmalinibeauty on Instagram for more updates.

